This chocolate caramel bark is so delicious it shouldn’t be allowed, especially when one batch is so large! I’ve shared several jars of it with friends now and they love it – it isn’t sticky and has more of a crumbly-fudgey texture. This means that, yes, if you have braces, you can still eat this! It reminded us of the pink fudge chocolates in Quality Street Tins – perfect for Christmas gifts!
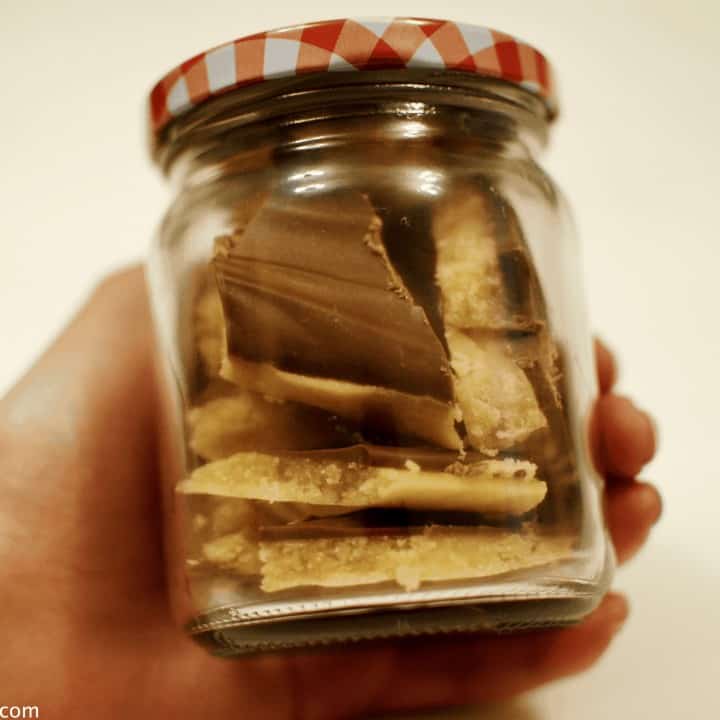
One batch of this makes 2 trays of caramel, and once we broke it up, we ended up with 7 jars of it! This means that it’s great for making at Christmas. After all, we’ve spent years struggling to work out what to give teachers and finally we have something perfect! However, if you need to make more then do not double the batch – make 2 separate batches instead as it may affect how it cooks. It’s fairly easy to customise to your preferences too; you could add nuts in with the chocolate, or use dark chocolate to top it instead if you prefer! If you choose to use nuts, I would recommend chopped toasted hazelnuts to go with this recipe.
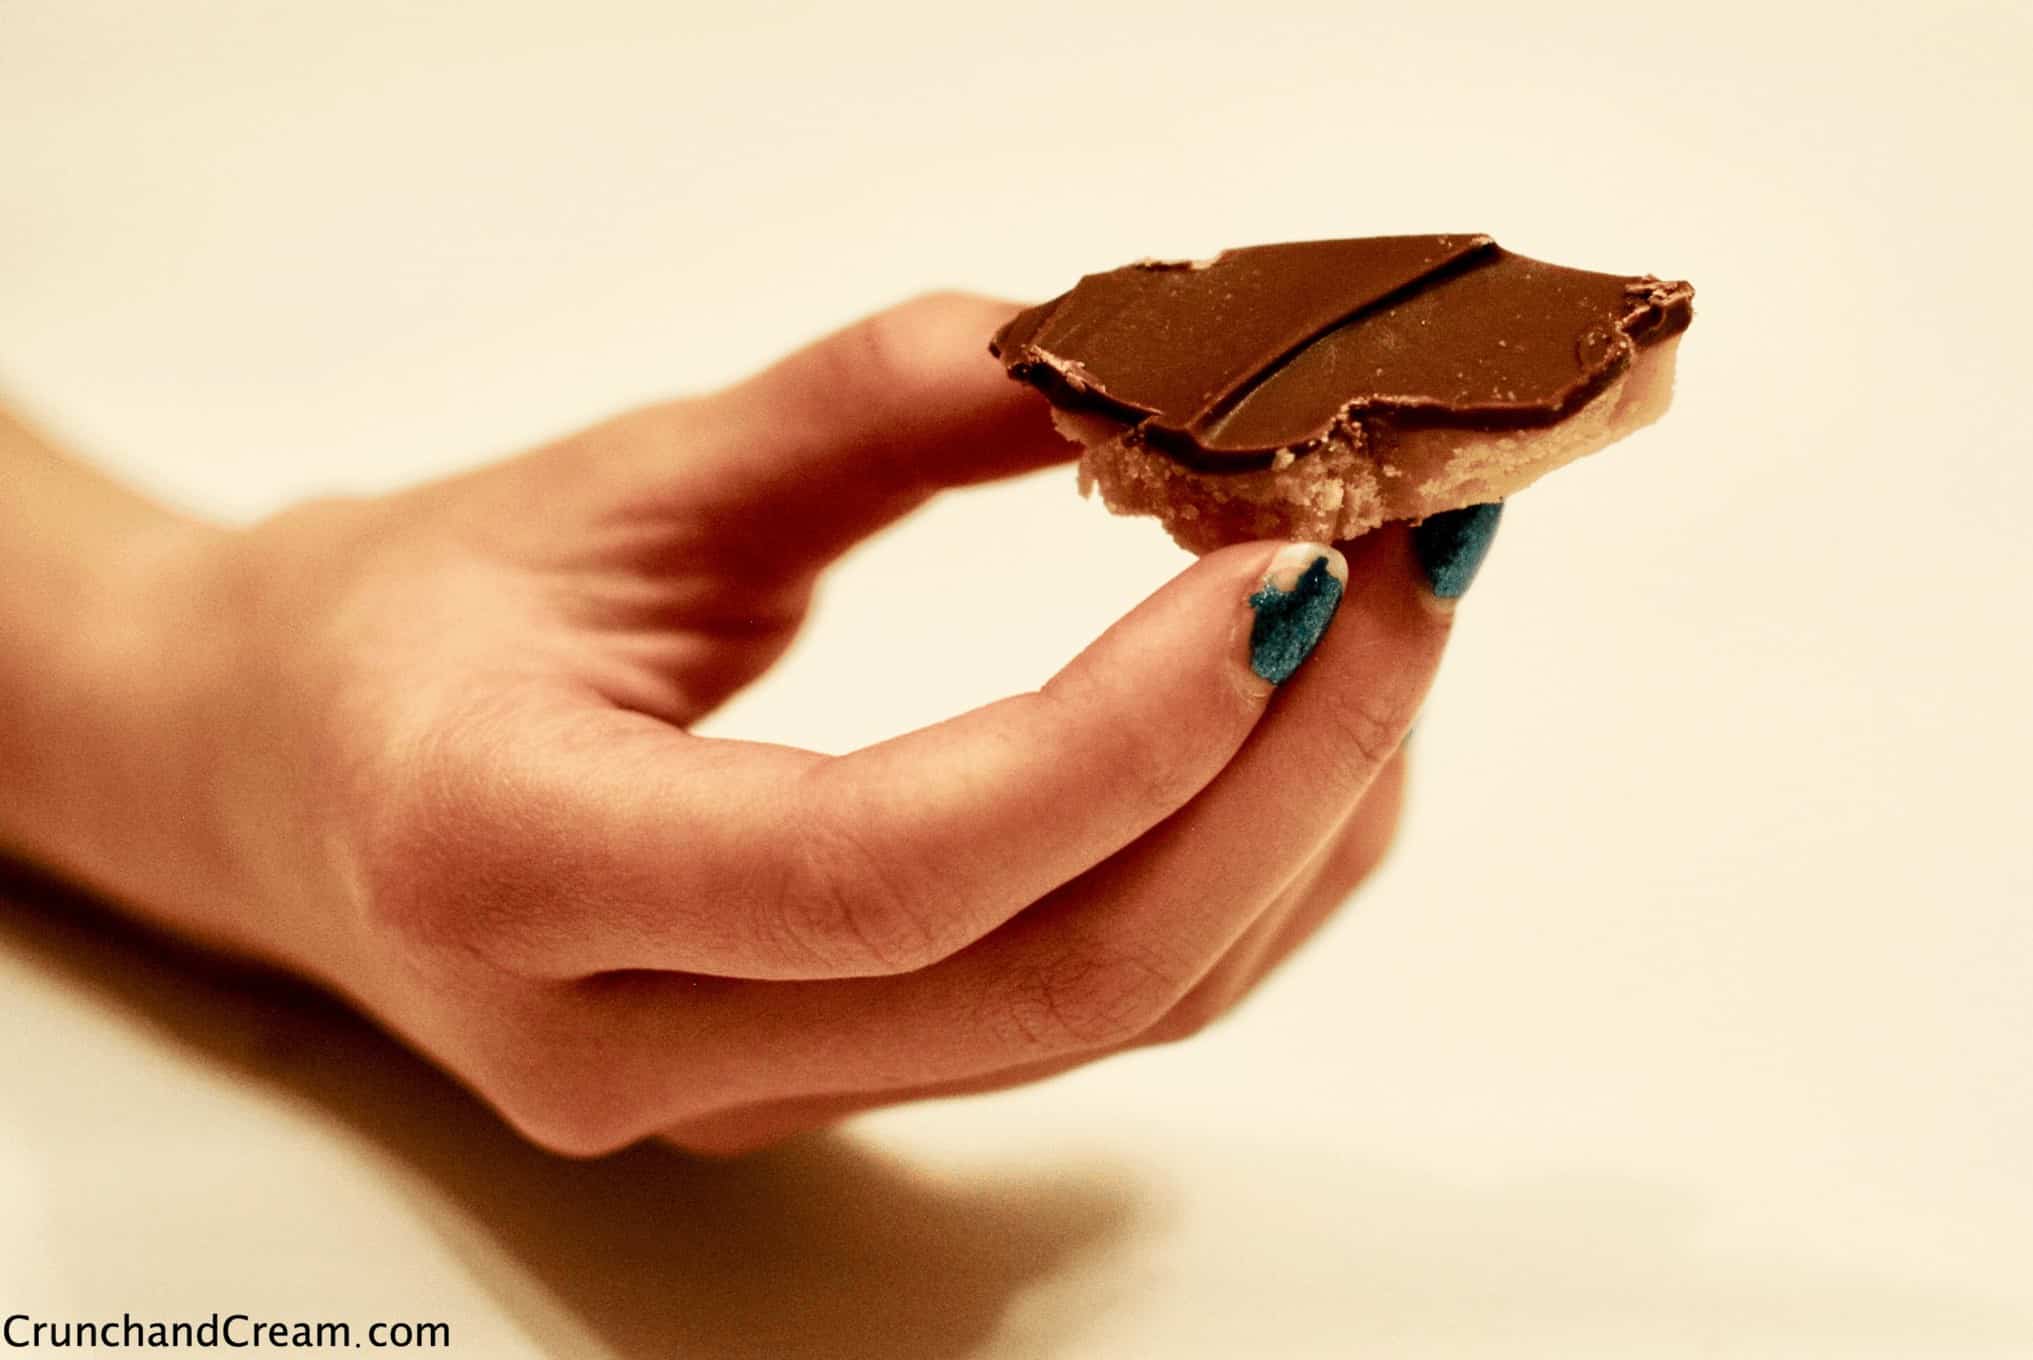
It’s fairly simple to make this chocolate caramel bark – you don’t need a candy thermometer or anything to know when it’s done. This is great for us as we don’t have one and so far every time I’ve tried to make something where one might use one, it’s failed miserably! There’s also no corn syrup or anything required. This is a big bonus for us in the UK, where it is not so readily available. Plus, it’s still got a lovely texture and level of sweetness without it! To test if it is set, drop a little from a spoon into a glass of cold water. If it drops to the bottom of the glass it isn’t set yet, if it holds together and floats in the top part of the glass it’s ready!
Caramel can be tricky to make for several reasons:
– Personally, I would not recommend making this with small children. This is purely because the sugar must reach incredibly high temperatures, and it would be easy for them to burn themselves.
– Children may also struggle to remember to stir slowly as if you stir too quickly, the sugar will crystallise. However, stirring too little could burn the caramel at the bottom of the pan.
– You must also be careful not to let the temperature of the caramel change too suddenly as this could also lead to crystallisation.
– If it is too hot or humid, it may not set properly – cool, dry days are better
– However, this recipe did turn out very well for us with no problems. If you are careful, there is no reason it shouldn’t turn out perfectly for you too!

For me, this recipe is perfect as it involves short bursts of involved cooking, and then plenty of long breaks. For example, after cooking the caramel, it must be left to set for at least 2 hours. Then, you can melt the chocolate and pour it on, and then leave it to set again. Finally, once that’s set, you can break it in to small shards and serve or store it! If you need to, you can extend one of these breaks to be overnight – there’s no hurry!
It’s best to store this caramel in the fridge. If this is not possible for some reason, then keep it as cool as you can, avoiding leaving it near a heat source e.g. a radiator. This is mainly so that it doesn’t melt or become too soft. However, it will last for up to 2 weeks if stored properly.
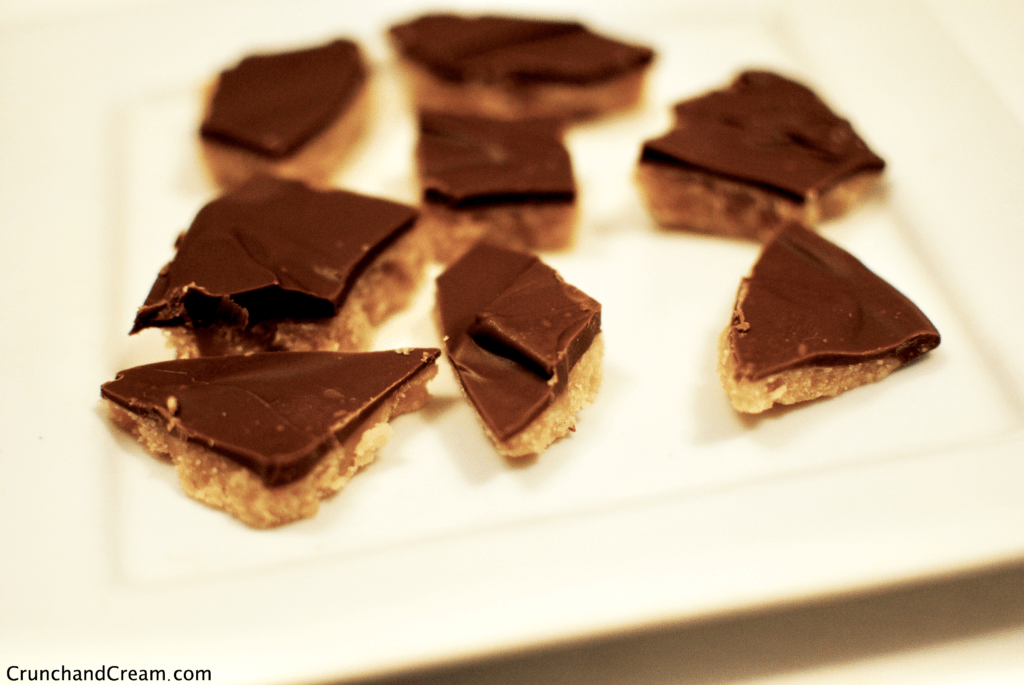
Crumbly Chocolate Caramel Bark
Crumbly caramel topped with smooth milk chocolate. Safe for those with braces to eat, and no candy thermometer needed!
Ingredients
- 455 grams unsalted butter, softened
- 450 grams caster sugar
- 60 ml water
- 1/2 tsp sea salt flakes
- 1 1/2 tsp vanilla extract
- 300 grams milk chocolate
Instructions
- Line 2 trays with parchment paper. Do not grease them instead.
- Add butter, caster sugar, water and sea salt to a large saucepan over low heat. Stir slowly and constantly until the mixture begins to boil.
- Turn the heat up to medium and continue stirring slowly and regularly (do not stir fast) until it changes colour from yellow to caramel golden-brown. Add the vanilla and stir gently until it is just mixed in.
- Turn the heat off and spread the mixture thinly and evenly between the two pans. Place in the fridge for 2 hours.
- Melt the chocolate and spread evenly on top of the caramel. Refrigerate again until set.
- Break in to pieces and place in jars or pots. Store in the fridge for up to 2 weeks.
Notes
You could sprinkle nuts on top of the chocolate for extra flavour and crunch. I would recommend toasted almonds or hazelnuts for this.
This recipe is ok for those with braces to eat as it is not particularly sticky or gooey.
Do not double the batch to make more, make 2 batches in separate pans instead.
Nutrition Information:
Yield: 7 Serving Size: 1 small jarAmount Per Serving: Calories: 947Total Fat: 65gSaturated Fat: 41gTrans Fat: 0gUnsaturated Fat: 21gCholesterol: 150mgSodium: 208mgCarbohydrates: 90gFiber: 1gSugar: 86gProtein: 4g
All nutrition information is an estimate and may vary.


What a fabulous caramel bark and I love the simplicity. I’m sure I’d have to sneak a piece every time I opened the fridge!
Thanks so much! I definitely had to keep sneaking little shards out of the jars we kept it in – it’s just too good to resist!